The PC Nikkor 28mm f3.5 was made for shift on 35mm cameras and thus has a larger image-circle than regular full-frame lenses. But is the image circle large enough to cover the Hasselblad’s 33x44mm medium format sensor, and is there any room for movements? And how about image quality? Is this a viable alternative to the XCD 30mm or the XCD 28p, with the added bonus of having some shift?
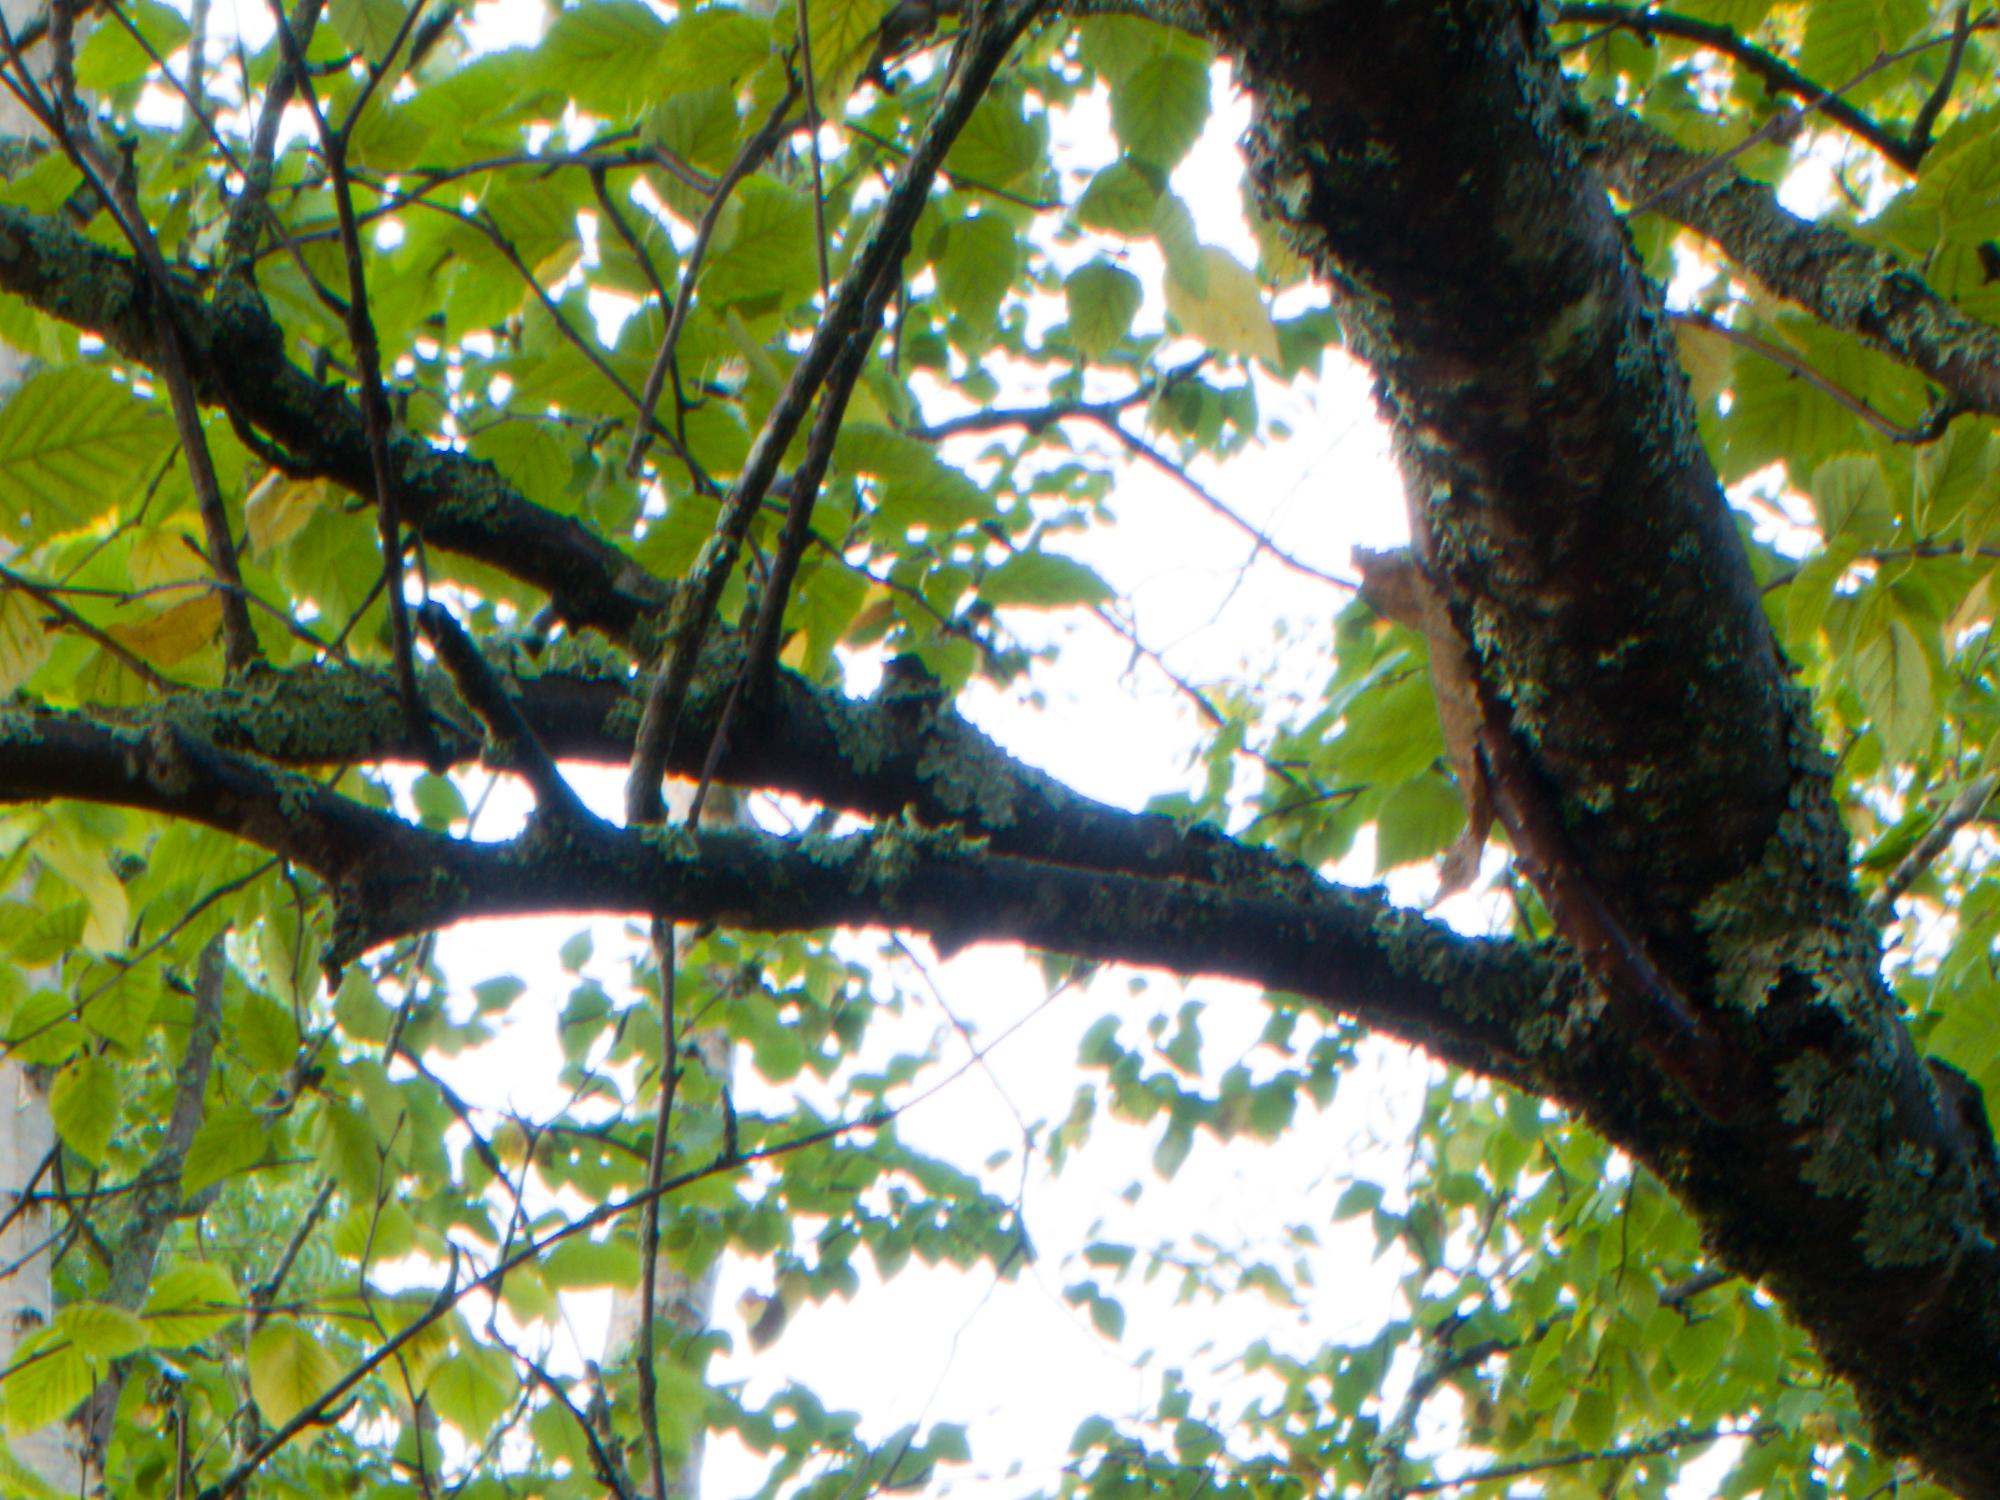
Please se my previous post for a bit of background and my thoughts around using tilt-shift in Landscapephotography in general, and with the X2D specifically. I rarely use tilt anymore since focus-stacking has evolved into a very convenient technique with quite good results. On the other hand, I find that shift can be rewarding to play around with. Especially in my forest photography, where I sometimes want to keep trees more or less vertical and at the same time emphasize a foreground. Using shift to change perspective and framing, and to take advantage of the lens’ natural distortion, is great fun. It is also the best way to make panoramas.
On the Hasselblad H-system I used the HTS, even if I find this system is quite limited for wider focal lengths.Enter Hasselblad X and all of a sudden we had the opportunity to adapt third-party lenses, including dedicated tilt-shift optics. One of the first lenses I tried was the PC-Nikkor 28mm f3.5. Although made for full-frame (or rather- 35mm film!) it sports a large image circle fully covering the 33x44mm medium format sensor and even has room for some movements. We’ll come back to that. First a few facts about this lens:
Size, build and function
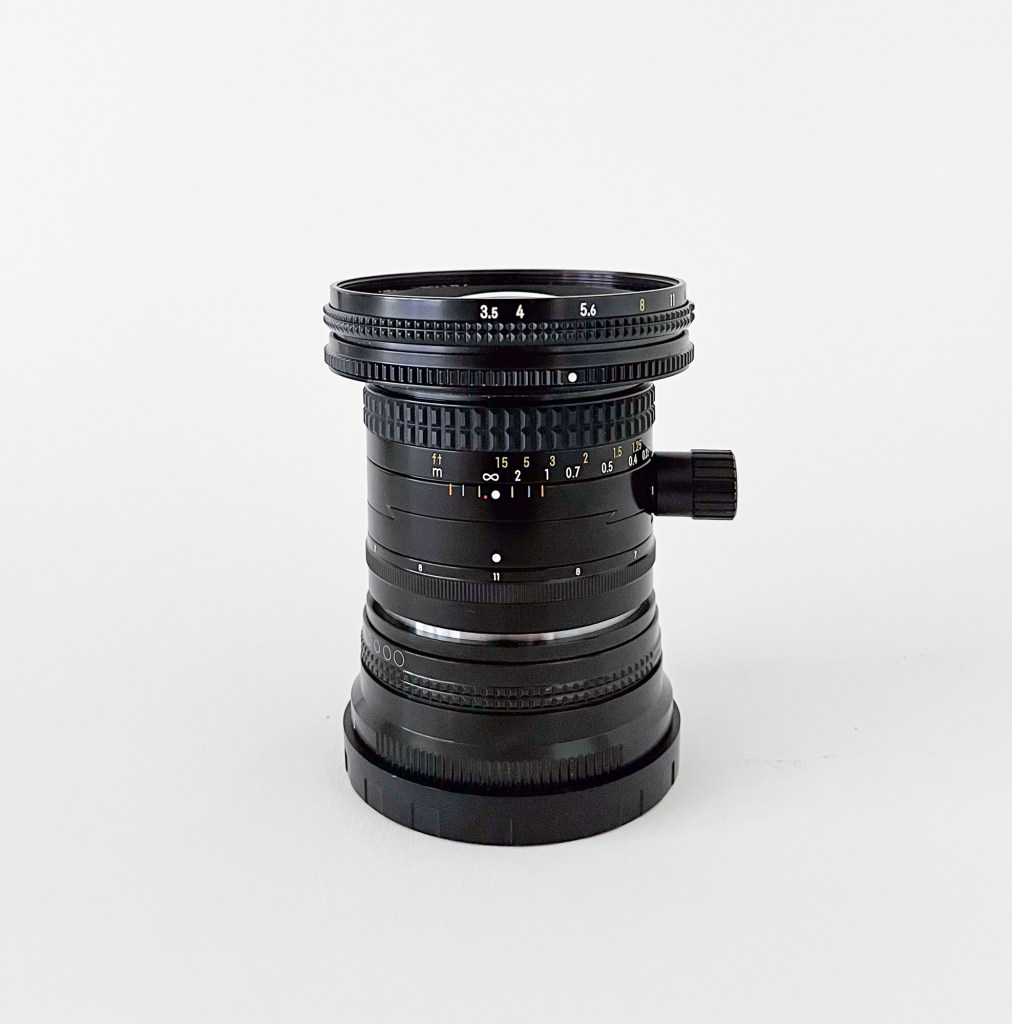
The PC Nikkor (PC for perspective control) 28mm f3.5 was released in 1980 and replaced the older PC 28mm f4. It remained in production through 2005, after which it was replaced by the 24mm PC-E. It is an all-metal built, fully mechanical lens without any transfer of information to the camera body. Build quality is second to none, although it has no weather sealing. The focus ring is of course made for manual focus and is a joy to use. The aperture-ring can be found all the way to the front of the lens and is totally smooth, without any steps. A second, similar ring can be found in front of the aperture-ring and can be set to limit the minimum aperture to a chosen setting. The lens is very small and lightweight, even with a Nikon F to Hasselblad X adapter mounted. Shift is done by turning a knob on the middle of the lens body. Turning this counter-clockwise moves the foremost half of the lens away from the knob. The screw has mm-markings showing the amount of shift used. Furthermore, the front half of the lens (including the knob) can be rotated 360 degrees in 12 steps, making shift possible in all directions. Both the knob, the shift- and the rotation mechanism is very well built and, importantly, extremely easy to use. This contrast other tilt-shift lenses I have worked with, lenses with small knobs and cumbersome mechanisms for shifting. In my opinion, this makes this lens very suitable if you are just starting out with shift-optics. As you can see from the images and the table below, the lens is very small and light-weight. It handles nicely on the X-body. No need for a tripod foot on the adapter.

| Full frame equivalent focal length | 22 mm |
| Aperture | Stepless f3.5-f22 |
| Length (lens only) | 65 mm |
| Length (with adapter and caps) | 104 mm |
| Weight (Lens only) | 372 g |
| Weight (with adapter and caps) | 510 g |
| Filter Ø | 72 mm |
| Close focus | 0.3 m |
| Built in hood? | No |
| Adapter used | Yeenon AIG-X1D |
| Max amount of shift/directions | 12mm, all directions/360 deg |
This lens is quite available in the used-market. Back in the days it was regarded as a high-end professional lens with a near astronomical price-tag. These days you can find a mint sample for around 300$. Be sure to get the 3.5 version, as it is rumored to be optically superior to the older f4 model. I don’t know if they changed the optical formula, but chances are that both glass and coating was improved. I have not tested the f4 variant.
Small and light-weight, fully mechanical, all metal solid build quality, very easy to use and nicely priced. Not much to complain about so far. Let’s dive into it’s optical performance.
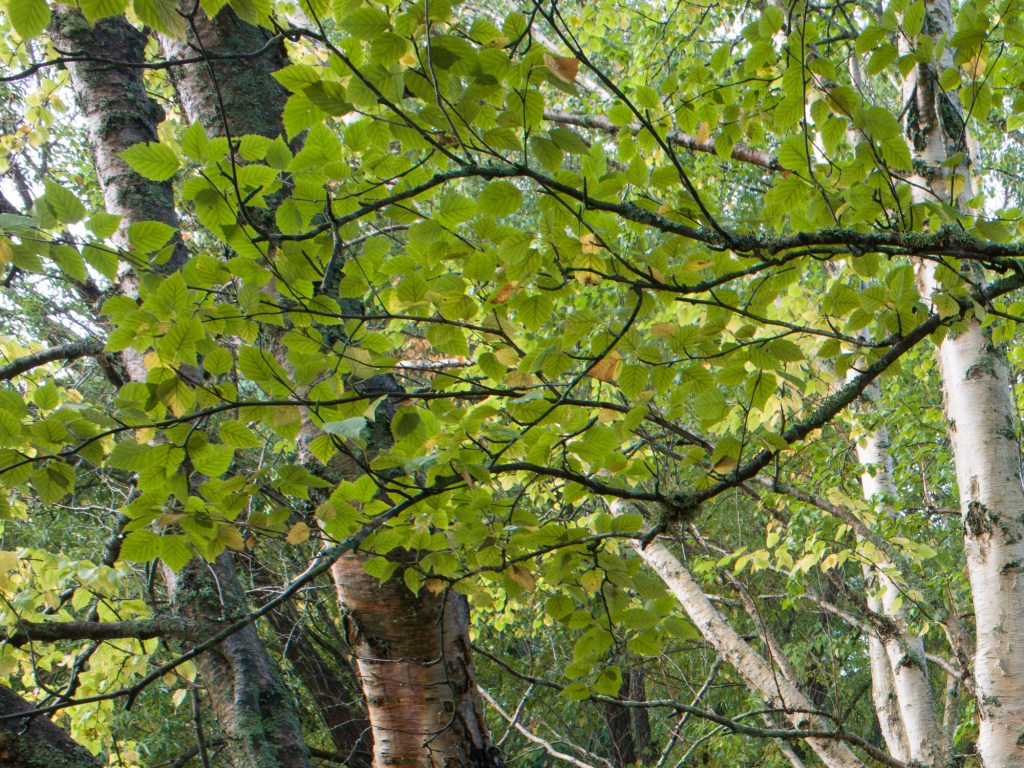
Test shot
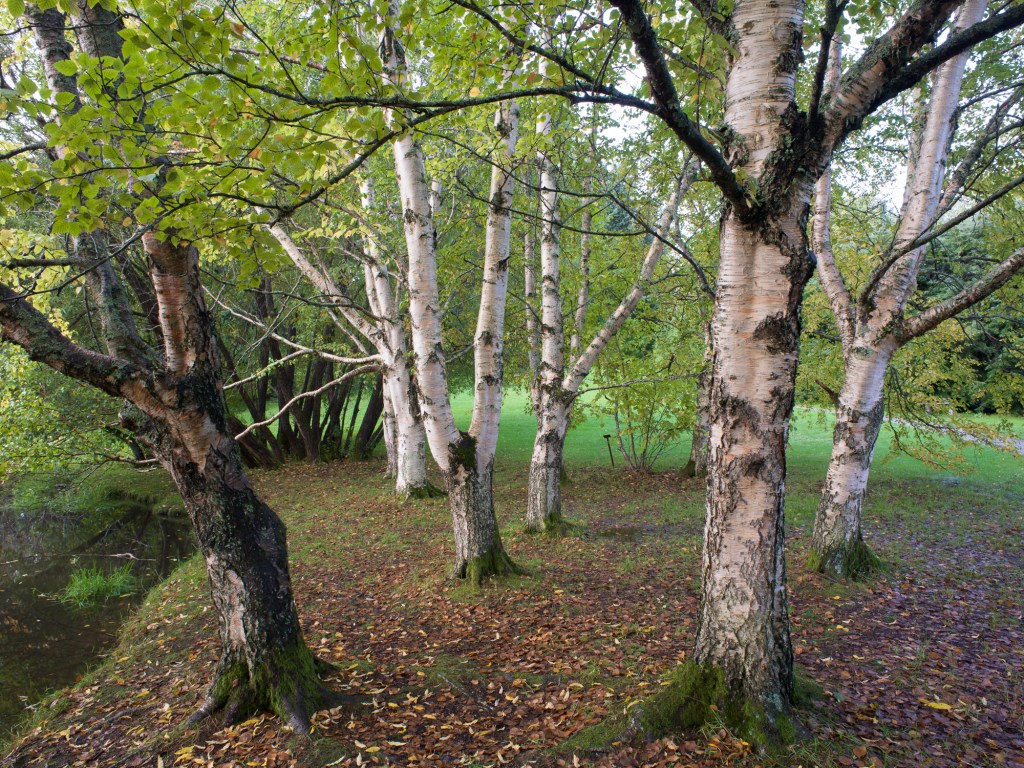
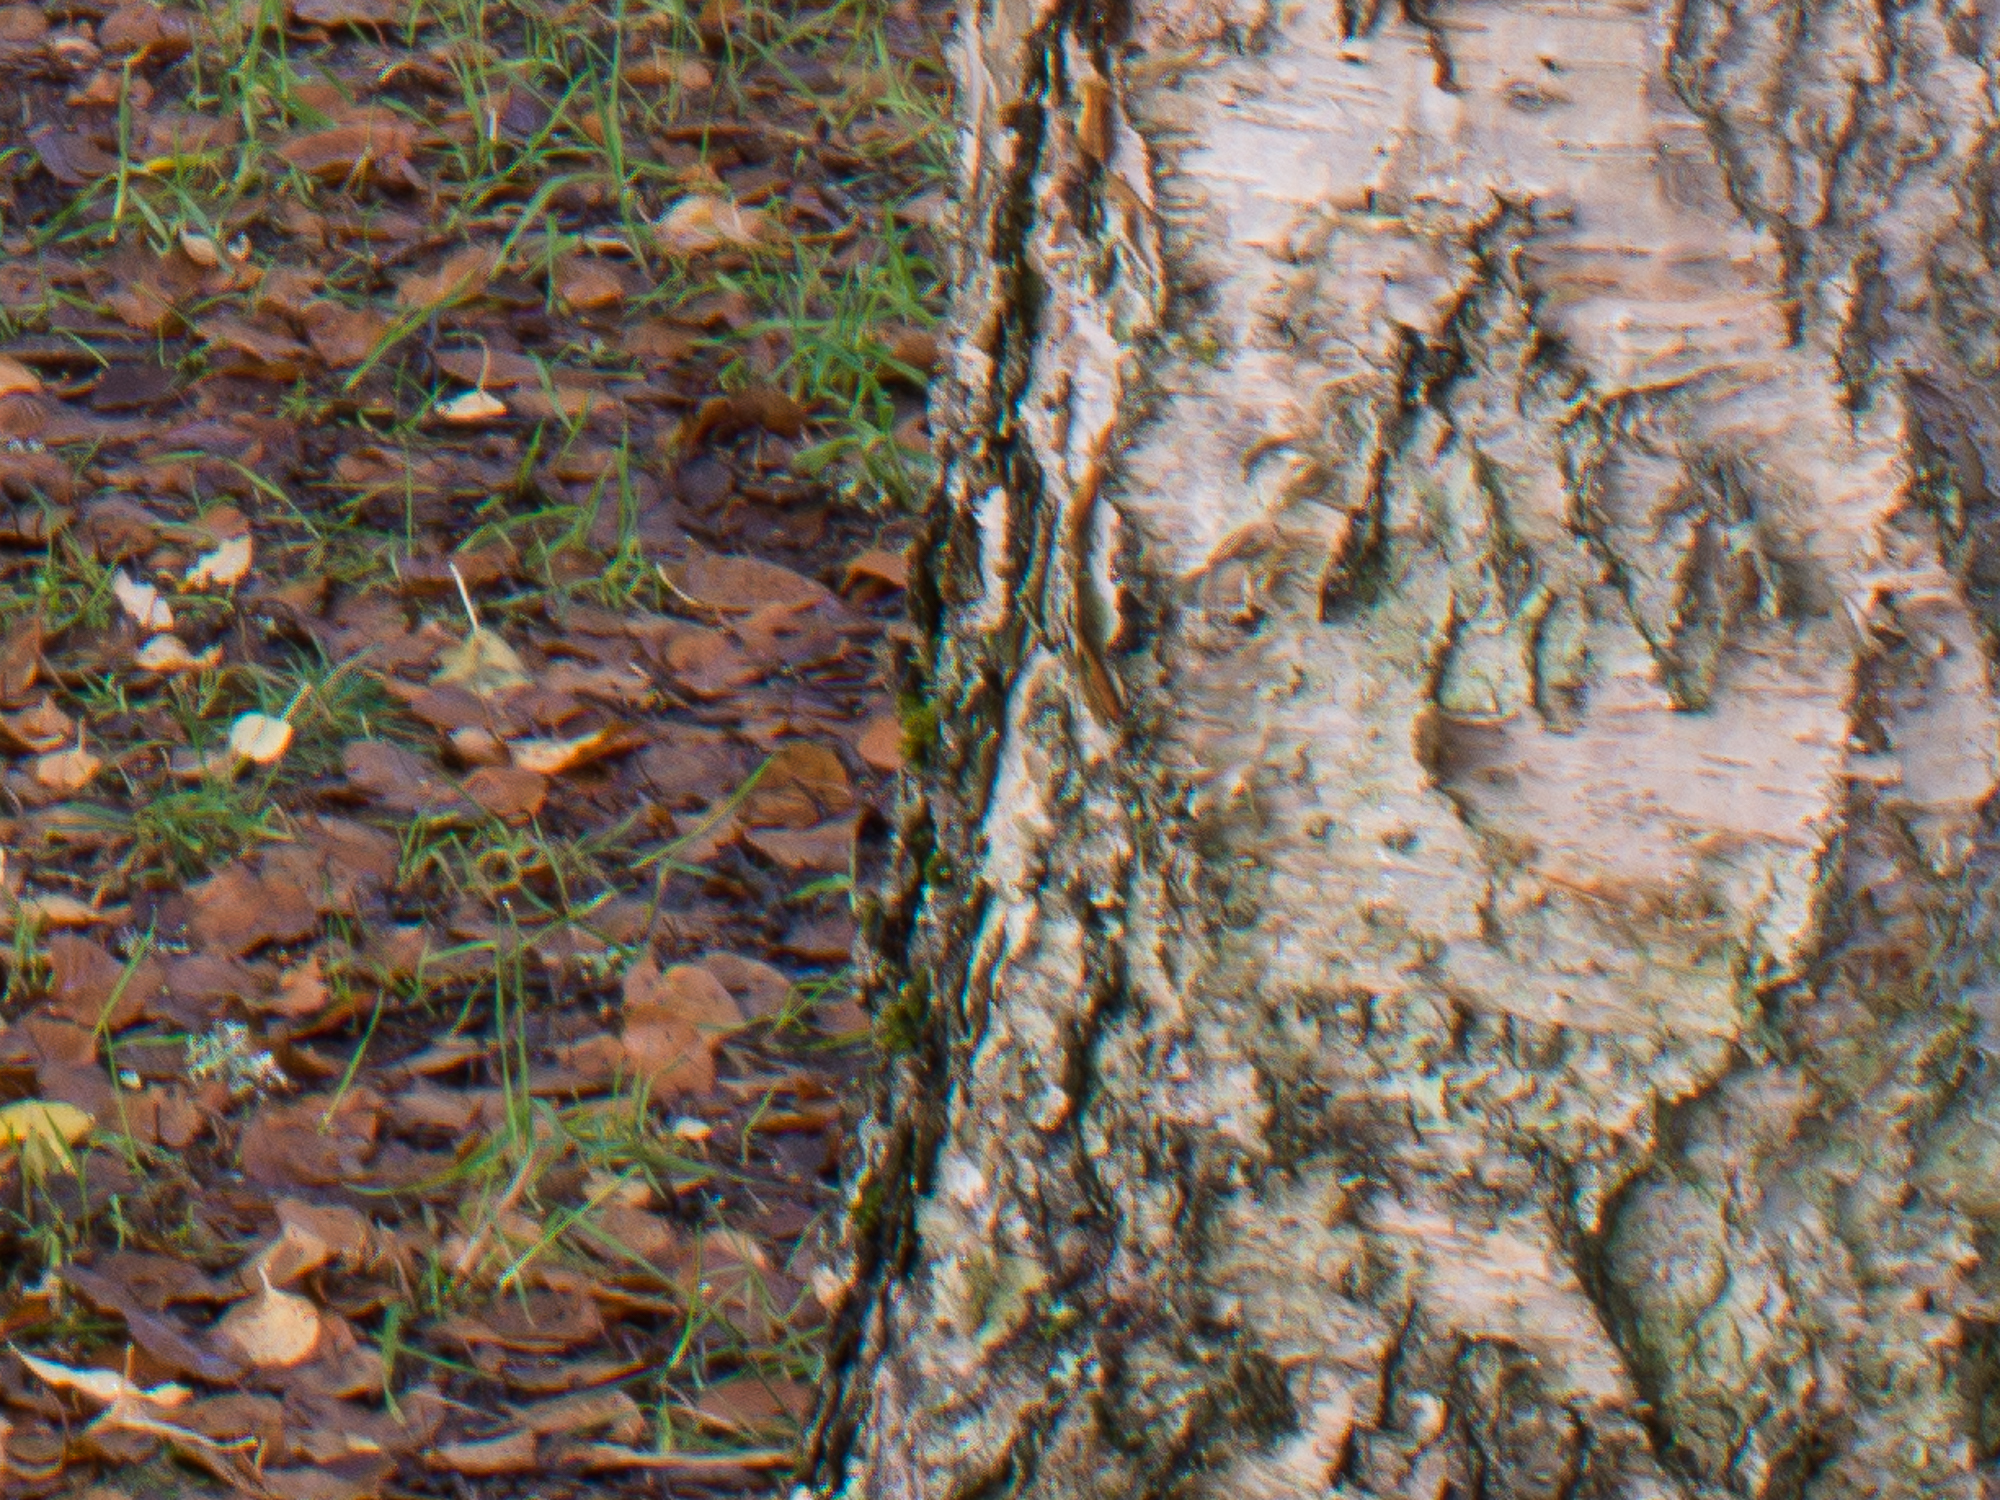
As usual with my test-shots, the artistic value of this image can be debated, but that is of course not the point here. I chose this scene because it represents how I would use the PC Nikkor 28mm lens in real life. A fairly intimate woodland scene with focus about 5-6 meters out. Some depth to the scene, calling for a small aperture (or focus stacking). Lots of details to allow for evaluation of sharpness everywhere in the scene, and some high-contrast areas to provoke chromatic aberrations. In my book, this scene is well suited to evaluate this lens for my regular use of it.
As with my previous lens-tests, this is not a high-end know-it-all technical review. I have just tested this lens to increase my own knowledge of it, in a real-life setting similar to how I mostly use such lenses: Hasselblad X2D-100c, 2-sec timer, camera in aperture-priority, auto white-balance, f16, iso 64 and obviously e-shutter. Manual focus in 100% live-view. The focus point here is on the tree in front slightly to the right. The camera is of course mounted on a tripod and is set perfectly level i all directions with the help of the internal, calibrated level in the Hasselblad. I have chosen f16 for several reasons. I often try to include some depth in my forest- compositions and thus need some depth-of-field. Diffraction is without doubt introduced from around f11, but that is a price to pay. Opening up to f11 or f8 would likely improve center-sharpness, but would probably challenge corner sharpness and I would have issues with depth of field. Stopping further down would result in even more diffraction. For most of my woodland photography, f16 seems like a good compromise. I could have tested different distances on all apertures, but that would not have been very interesting for me, and is definitely beyond the scope of this investigation.
As for postprocessing, not much is done on these test shots. Upon import to Lightroom I have used my standard import-settings with Raw-sharpening/deconvolution (amount 30, radius 0.5, details 100). I have not done corrections for chromatic aberration, vignetting or distortion, unless otherwise stated in the image caption.
Sharpness, unshifted.

Sharpness was assessed by inspecting the three red squares shown above, corresponding to 200% enlargements of center, edge and corner. The area in the blue square was used to look for chromatic aberrations. This image was compared to a picture captured with the XCD 30mm at the same time and with the same settings as with the PC Nikkor. The XCD 30mm photo is shown below.

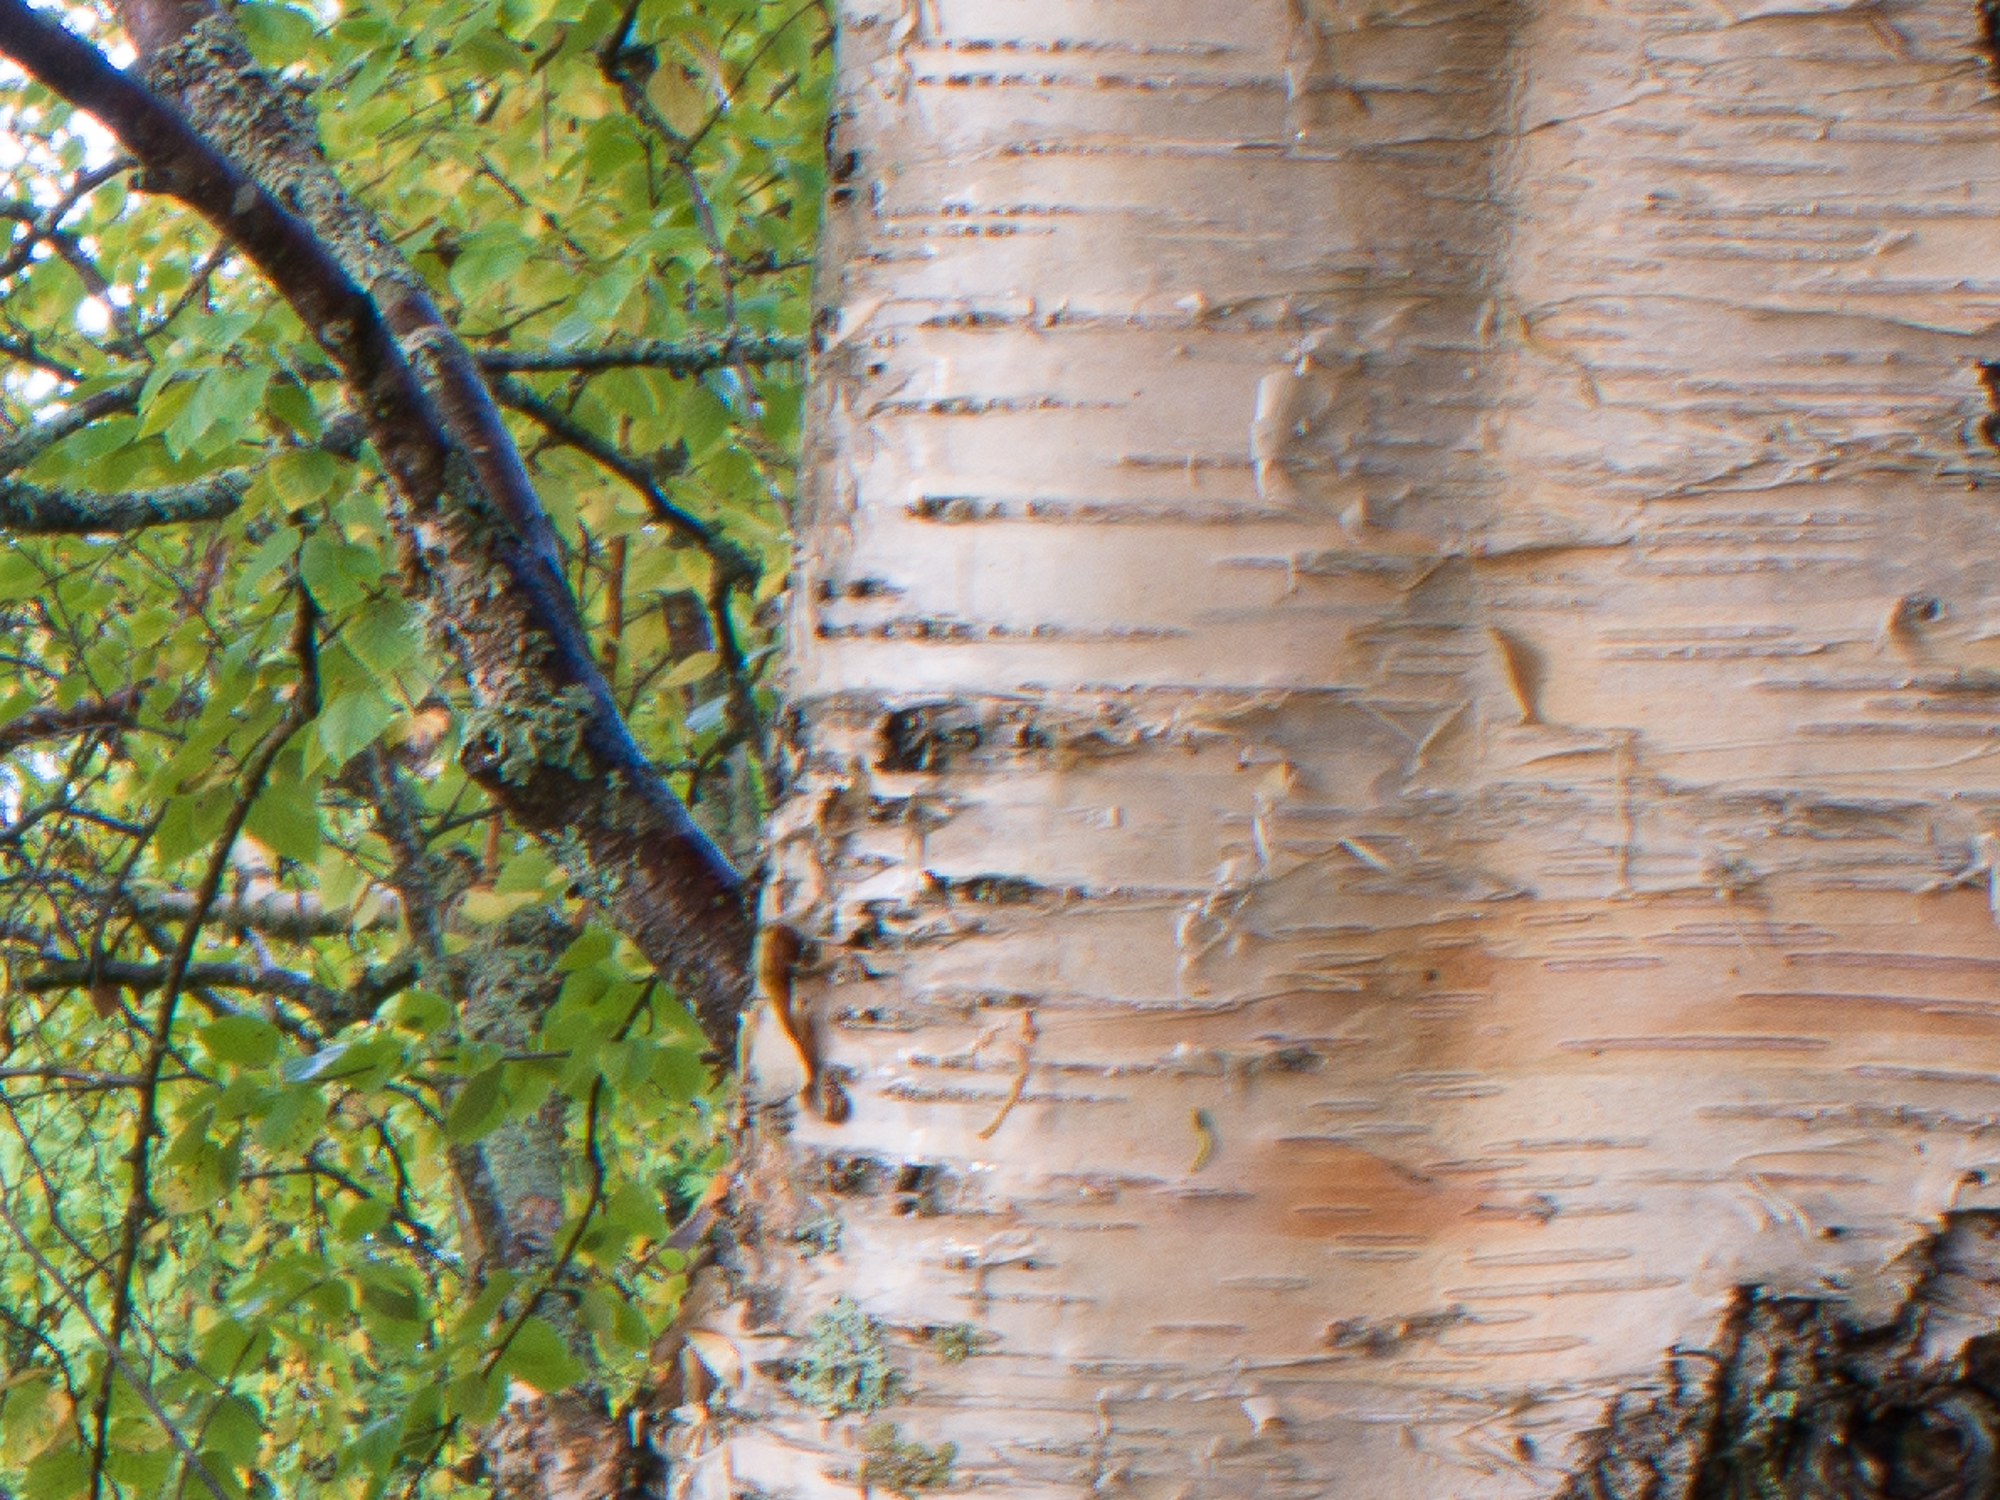


As expected, sharpness of the PC Nikkor is inferior to the XCD 30mm in all parts of the frame. The difference is small, almost negligible, in the center portion of the image, but the Nikkor gradually falls behind towards the edges and corners. The comparison might seem unfair, as the XCD 30mm probably is one of the best lenses ever made. In my opinion it is stunningly good, even when compared to other high-end optics I own. Furthermore, the price difference is of course huge. But the comparison is still relevant. Is the PC Nikkor a bad lens? Well, of course it depends on your personal standards. I pride myself with being quite obsessed with technical quality, but after years of making huge prints, I have gradually come to the conclusion that the perception of sharpness is not always what make a print (or a digital image for that matter) work or not. And side-by-side comparisons of the same scene with different optics only happens in tests. It all depends on size of the print, viewing distance etc. In the end of the day, subject, light, exposure and composition are far more important. The PC Nikkor may be sharp enough for most images.
And of course, there is always the possibility to improve sharpness with AI-based software. I put the same PC-Nikkor-testimage through Topaz Sharpen AI, and voilá. The image is very much comparable to the XCD 30-capture. See extreme corner comparison below. The same goes for the whole frame. This is truly an amazing software.
Chromatic aberrations


Chromatic aberrations seem quite well controlled on the PC Nikkor 28mm, at least for being a vintage film-lens. There is a tad of purple fringing around some branches, but they are easily removed in Lightroom. Of course, green fringing could be difficult to evaluate in the foliage. I’ll be sure to remember that for future tests.
Ghosting and flare
This lens has some coating, but I am unsure about exactly which. It does have a tendency to flare when shooting straight agains bright light, as with most other lenses from the same generation. There is often some loss of contrast and color when shooting straight into the sun, and this may take some time to overcome in postoprocessing. On the other hand, it draws a beautiful sunstar if you are into that kind of thing. Unfortunately, I was unable to test this on this occasion, but the image below from a couple of years ago shows some of the challenges with shooting straight into the sun with this lens.

Vignetting and distortion, unshifted
All full frame lenses are of course made with the 24x36mm sensor/film in mind and will to variable degrees vignette on a larger sensor. This goes especially for wide-angle lenses. The PC-Nikkor, being a shift lens, has a much larger image circle. As can be seen on the unshifted test-image above, there is no pronounced vignetting seen in a scene like this as long as the lens is unshifted. You may even appreciate that the unedited (no vignette removal in processing) image of the XCD 30mm seem to have more vignette.
What about distortion then? One of the uses of perspective-control/shift lenses is for architectural photography with the main object being to keep verticals vertical. If the lens suffers from pronounced distortion that is hard to correct in postprocessing, straight lines may still not be straight. In landscapephotography this may not be an important issue, but it surely is for cityscapes and architectural work. Fortunately, I have access to a brick-wall with fairly straight lines, so for the first time in history, I am actually photographing a brick wall! Same camera settings as usual, 100% level tripod, electronic shutter, iso 64, f16 etc.


As can be seen from the images above, there is some vignetting even when used unshifted and at f16. It seems fairly easy to correct in postprocessing though. The barrel distortion represents more of a problem. First, it has a hint of the mustache-type that responds poorly to regular correction. Second, shifting this lens will make the barrel-distortion asymmetrical and thus even harder to correct. Probably not much of a problem for landscape-photography, but I you are photographing architecture, it may be a deal-breaker. I address vignetting and distortion for a shifted image below.
Shift
Except price, the PC Nikkor has one advantage compared to the original Hasselblad optics. It can be shifted. The mechanism in the lens allows for 12 mm shift with a 360 degree rotation. However, this lens was made with 35mm film in mind, so the image circle is big, but not enormous. How much could be shifted on the 33x44mm medium format sensor before we run into trouble? Let’s see.

As can be seen on the image above, using full shift (12mm) both ways results in a dark, albeit soft, vignette in the extreme corners. There is also a pronounced blue color shift. So, full shift is not recommended unless you are willing to use some pretty invasive postprocessing. What is the limit then? Lets look at different degrees of shift.
Lets have a look at some 100% views of the upper left corner from unshifted to full 12 upward shift.

I have concluded that I can use this lens up to 8mm shift in any direction, and still sleep well at night. More shift than that and you will have severely impaired image quality and vignetting in the very extreme corners. However, the borders outside of the extreme corners are still ok with full shift. So if the scene calls for e.g. a square crop, I would have no problems with 12mm shift.
I also tested vignetting and distortion at 8mm shift. Se image below.


As you may appreciate from the image above, correction of both vignetting and distortion is almost impossible when shifted. At least with conventional methods. If you need 100% correction you are probably left with local exposure-adjustments and the liquify-tool in photoshop as your last resort. However, for landscape-photography, I don’t consider this vignetting and distortion as major limitations.
Conclusions
The 28-30mm focal length (corresponding to around 22-24mm in full-frame terms) is a favorite of mine for my landscape work. I actually started using the PC Nikkor 28mm to fill this gap in my focal length range before I purchased the XCD 30mm. The added possibility of shift is a nice bonus, and I have used it a lot both to correct perspective and to stitch panoramas. It has provided me with a few images that I am really happy with.
Build quality is excellent, it is very small and lightweight and the shift- and rotation mechanism is extremely easy to use.
Optically, it definitely has it’s limitations. Sharpness in image centre is very good, but move towards the edges or extreme corners, and you will see a gradually impaired sharpness and resolution, with some smearing in the corners, at least if you are pixel-peeping at 200%. Chromatic aberrations are well controlled and easily corrected. There is some vignetting that is easily corrected unshifted, but harder to correct when shifted. The mustache-type barrel distortion is hard to correct. I would be careful with using it for architectural work, but this does not matter that much to me in my landscape-work. The lens can be shifted approximately 8mm up or down before the corners start falling apart.
Will this lens be retired to the shelves of my office after this test? No, probably not. I love the focal length, the small size and ease of use, and I will most likely reach for it when I’m packing for my next landscape trip. Knowing it’s optical limitations makes workarounds possible. The price and ease of use make it a viable option if you are just starting out with shift.
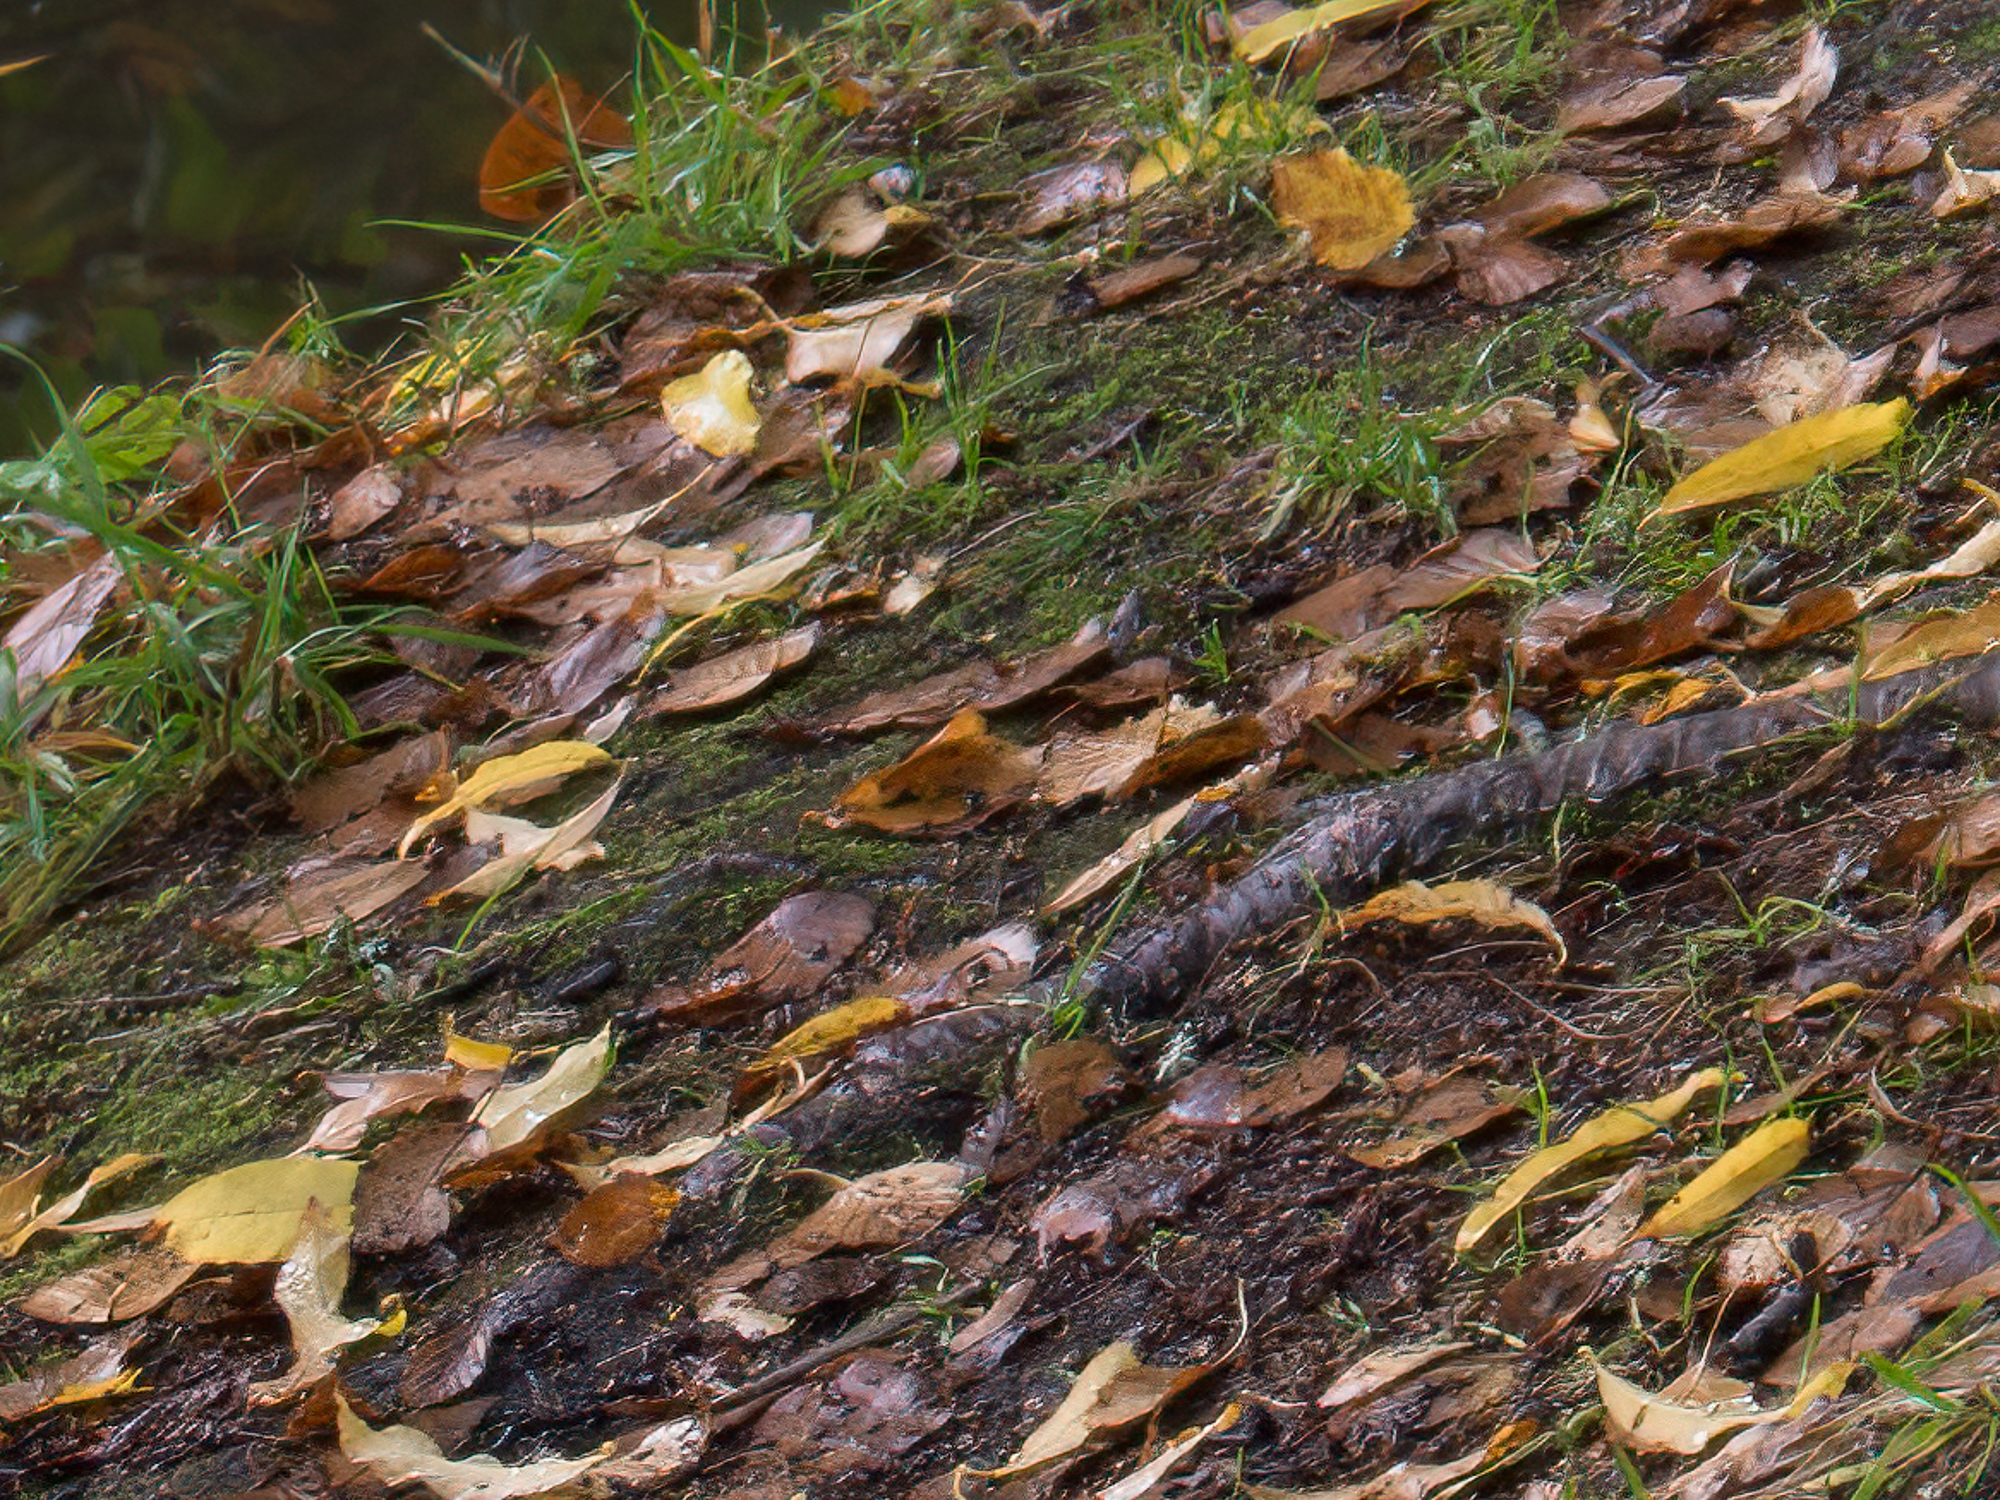
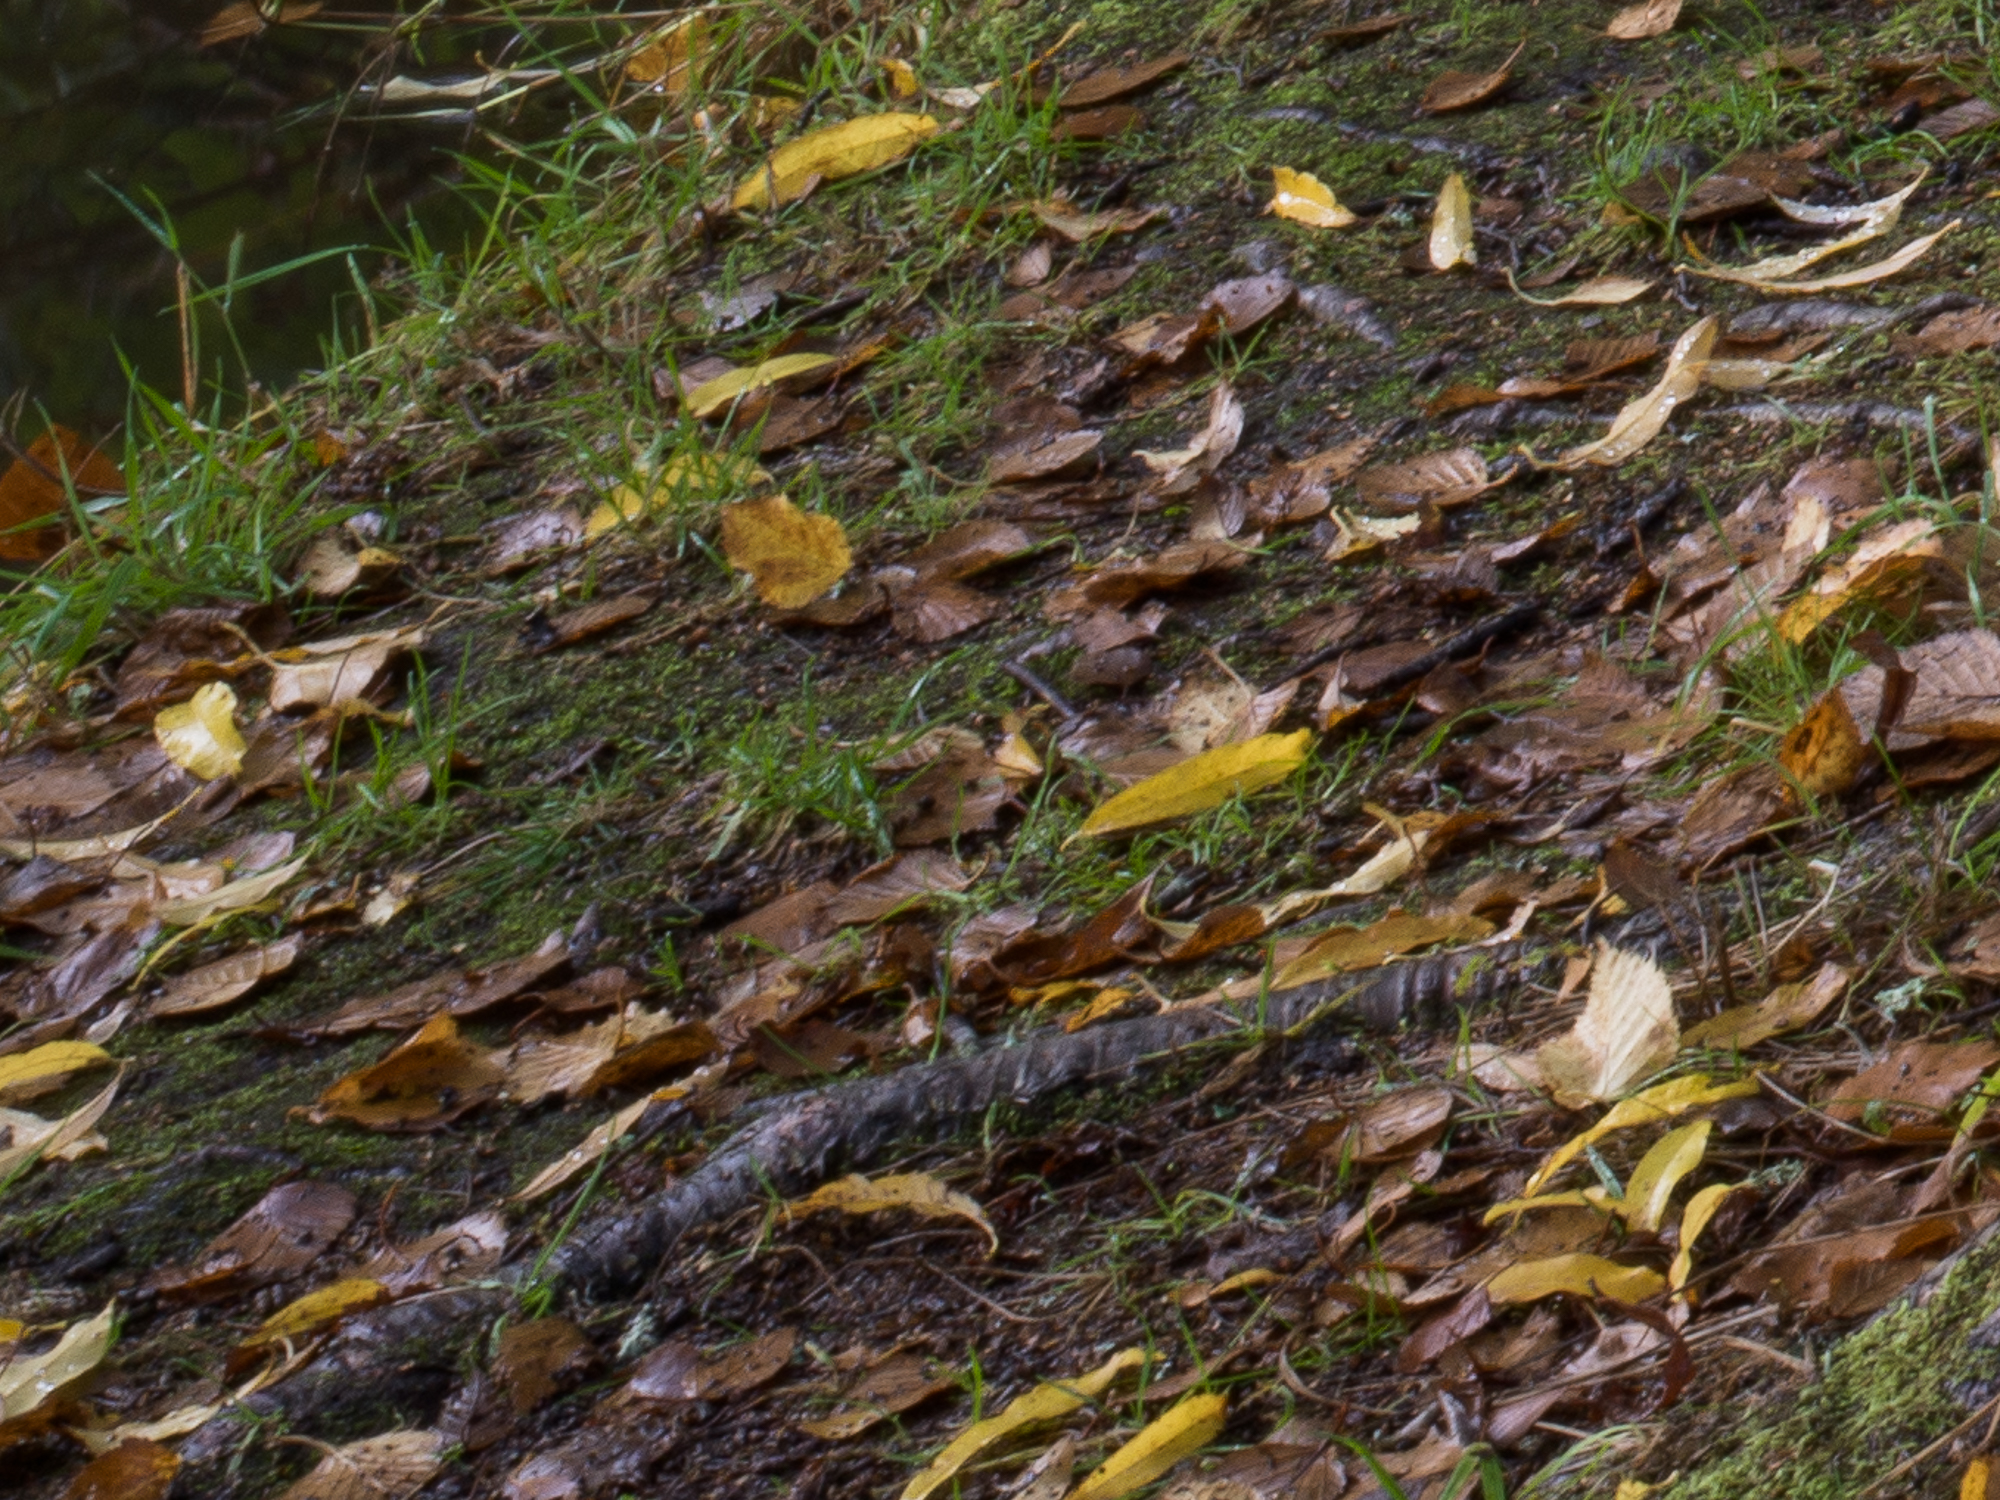
Below are two images made with this lens. The first is a 3-images stitched panorama. The second is a single exposure with 8mm downward shift. Both were sharpened with Topaz sharpen AI.